.png) |
| Nungesser's SPAD. |
.png) |
| Here's Nungesser himself in the SPAD, this is after August, 1918. |
 |
| A similar view of my completed model. |
The Hobbycraft SPAD came out sometime in the 1990's. You can still find them on eBay at reasonable prices. The Wingnut Wings crowd won't even consider them, so that's good for you if you're looking! Also, I should mention that Roden has recently produced two versions of the SPAD XIII, the early, rounded wingtip model and this later one. They look pretty good and are not outrageously expensive!
Since I'm going with Nungesser's scheme, I will be using the kit's decals. This is always a little worrisome because 20-30 year old decals can be a real gamble!
 |
| Interior work. |
First step in assembly, (after washing everything in soapy water), is to assemble the interior. Here, the kit gives you a nice basis on which you can add as much detail as you care. I added some rigging, control cables and harnesses. The kit provides a few instruments which seem close to the simple instrumentation of the actual aircraft.
 |
| Fuselage side and the cockpit tub. |
After closing up the fuselage and installing the lower wing, I began pre-shading to get a nice visual effect of the ribs and longerons against the linen. In this case, since the upper surfaces would have an opaque coat of dope, I decided to put a light base color down, followed by masking then a dark brown coat, then a thinned coat of buff which will allow the lighter lines to show through.
 |
| Light color base, masked. |
 |
| Followed by a dark coat with the tape removed to show the light rib color. |
 |
| Finally a thin coat of buff. The result shows the light wood framework showing through the linen. |
The lower surfaces were actually the easy part of this paint job! Now came time for the FIVE color upper camouflage used by the French! I referred to the Wingnut Wing's Salmson kit instructions for color formulas for Tamiya paints to approximate the French scheme. Then starting with the tan, I applied each color. Spraying, letting dry, masking, then spraying again. The process took about a week. I liked the results. But I the realized that I had forgotten about the white flash on the fuselage top! Oh bother!
Now, there seems to be some disagreement regarding this white flash. Some references say that it is all white and was offset to throw an opponent's aim off. Eduard has produced a nice 1/48th scale kit and shows this as being actually a tri color design not offset at all. It is possible, given the film oddities of the time, that this is possible. But examining the photos, it sure looks to me that the flash is all white and offset so that's what I went with.
 |
| Camouflage done and white flash added. |
 |
| Painting the tail stripes. |
As usual, the rudder stripe decals did not set very well at all. I assumed they wouldn't and quickly masked them off and painted them. The trickiest part here was matching the shade of blue which Hobbycraft used for the roundels. Incidentally, the kit's decals actually worked okay for the most part, except, of course, for the tail stripes. Fortunately, the script for the tail was a separate decal which went on well.
 |
| Painting done, awaiting assembly |
The next challenge was the normal one for all biplanes; attaching the top wing! It concerned me a little that the instructions stated that the outboard struts would most likely be too long and would require trimming! I installed the cabane struts and the inboard struts to the fuselage and lower wings and let them dry thoroughly. Some of the rigging had already been installed on the inner interplane struts and on the upper wing. I also had drilled a few holes for the flying wires, coming from the upper wing to enter near the lower fuselage.
I then installed the upper wings to these struts with little trouble. Installing the outboard interplane struts did require a little trimming but they went in, again without too much trouble.
 |
| Top wing installed! |
With the wings installed, rigging began in earnest. I used double wires for some of the rigging. On the actual aircraft, these wires were taped together but I haven't figured out a way to simulate that yet, so I left them as open doubled wires.
The landing gear on this kit is wonderfully robust! That's something you can't take for granted in these WWI aircraft.
The final challenge for this kit was attaching the aileron pushrods. Hobbycraft gives you two pieces for this assembly. I had cemented the triangular shaped pivots on to the lower wing but getting the pushrod and the curved control arm in proved to be too difficult. I finally figured out the by cutting the pushrod off of the control arm made things a lot more manageable.
 |
| Here's a shot of the aileron pushrod assembly. |
With that final hurdle overcome, all that was left was a little pin washing. I didn't do a much weathering aside from some oil staining around the engine.
Overall, I found this a pretty pleasant build. The kit was simple but contained enough detail to make a good foundation for further detailing. I can recommend this kit, but it will be interesting to build the new Roden version for comparison.
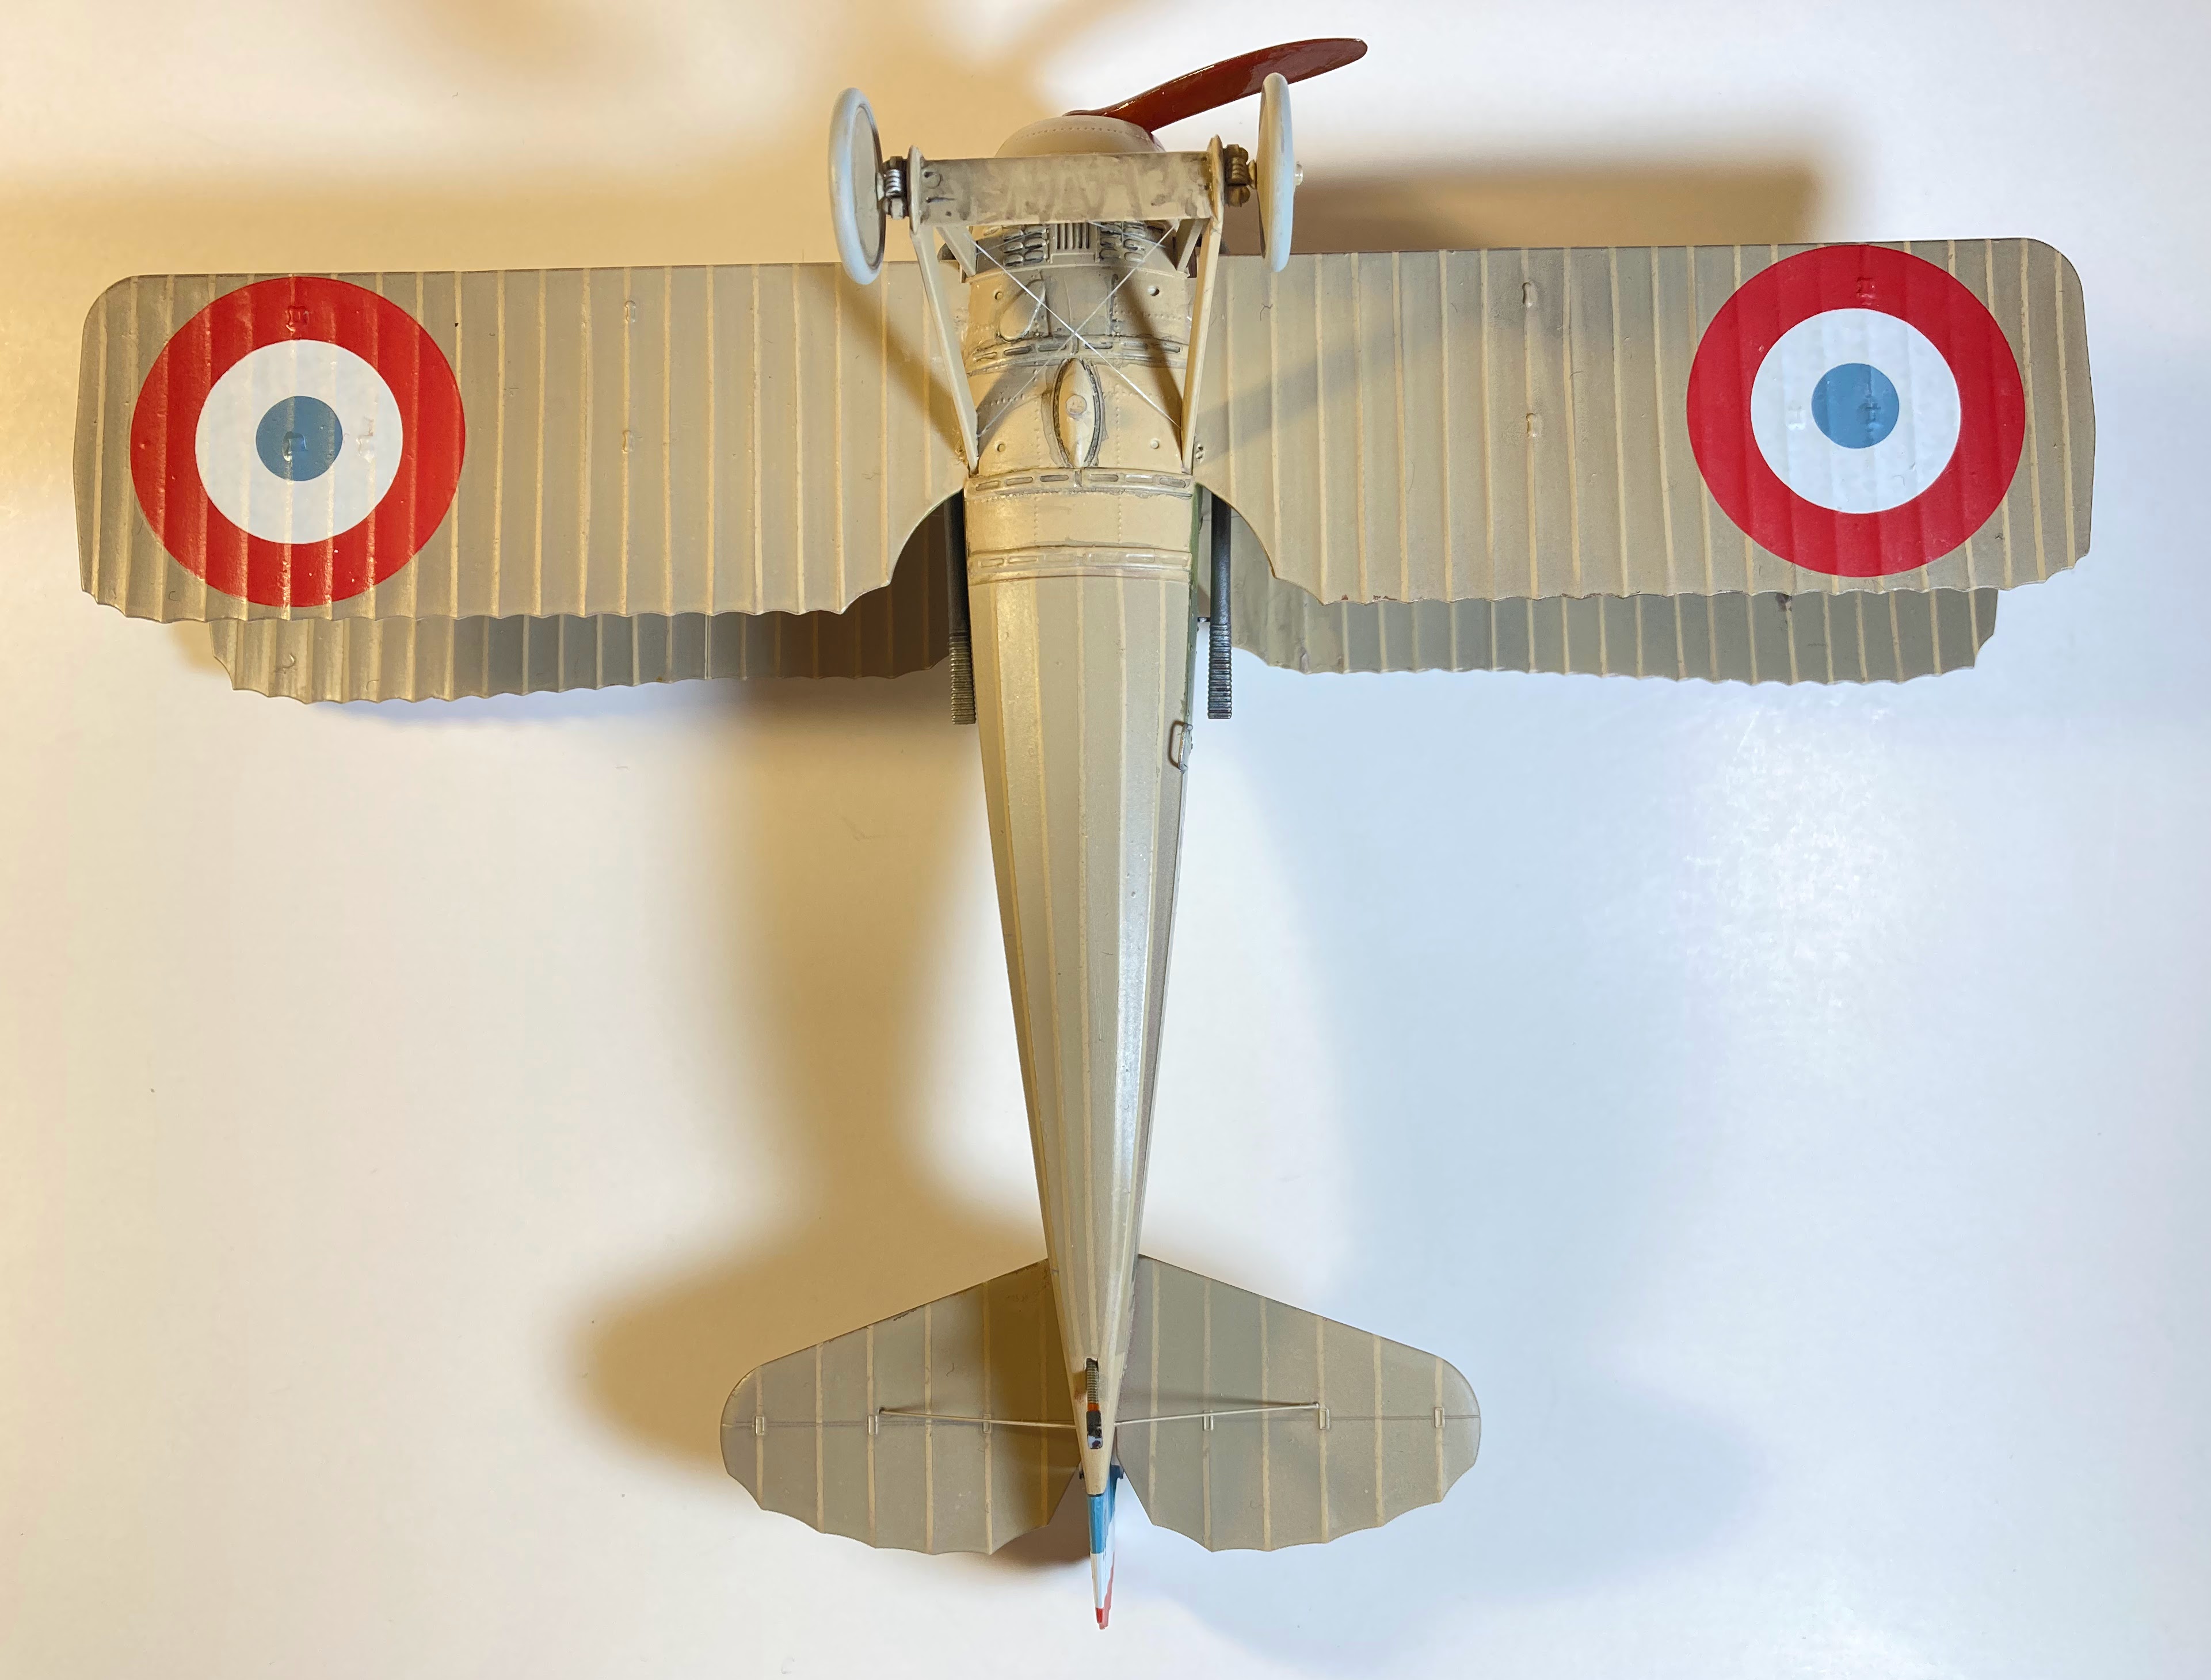
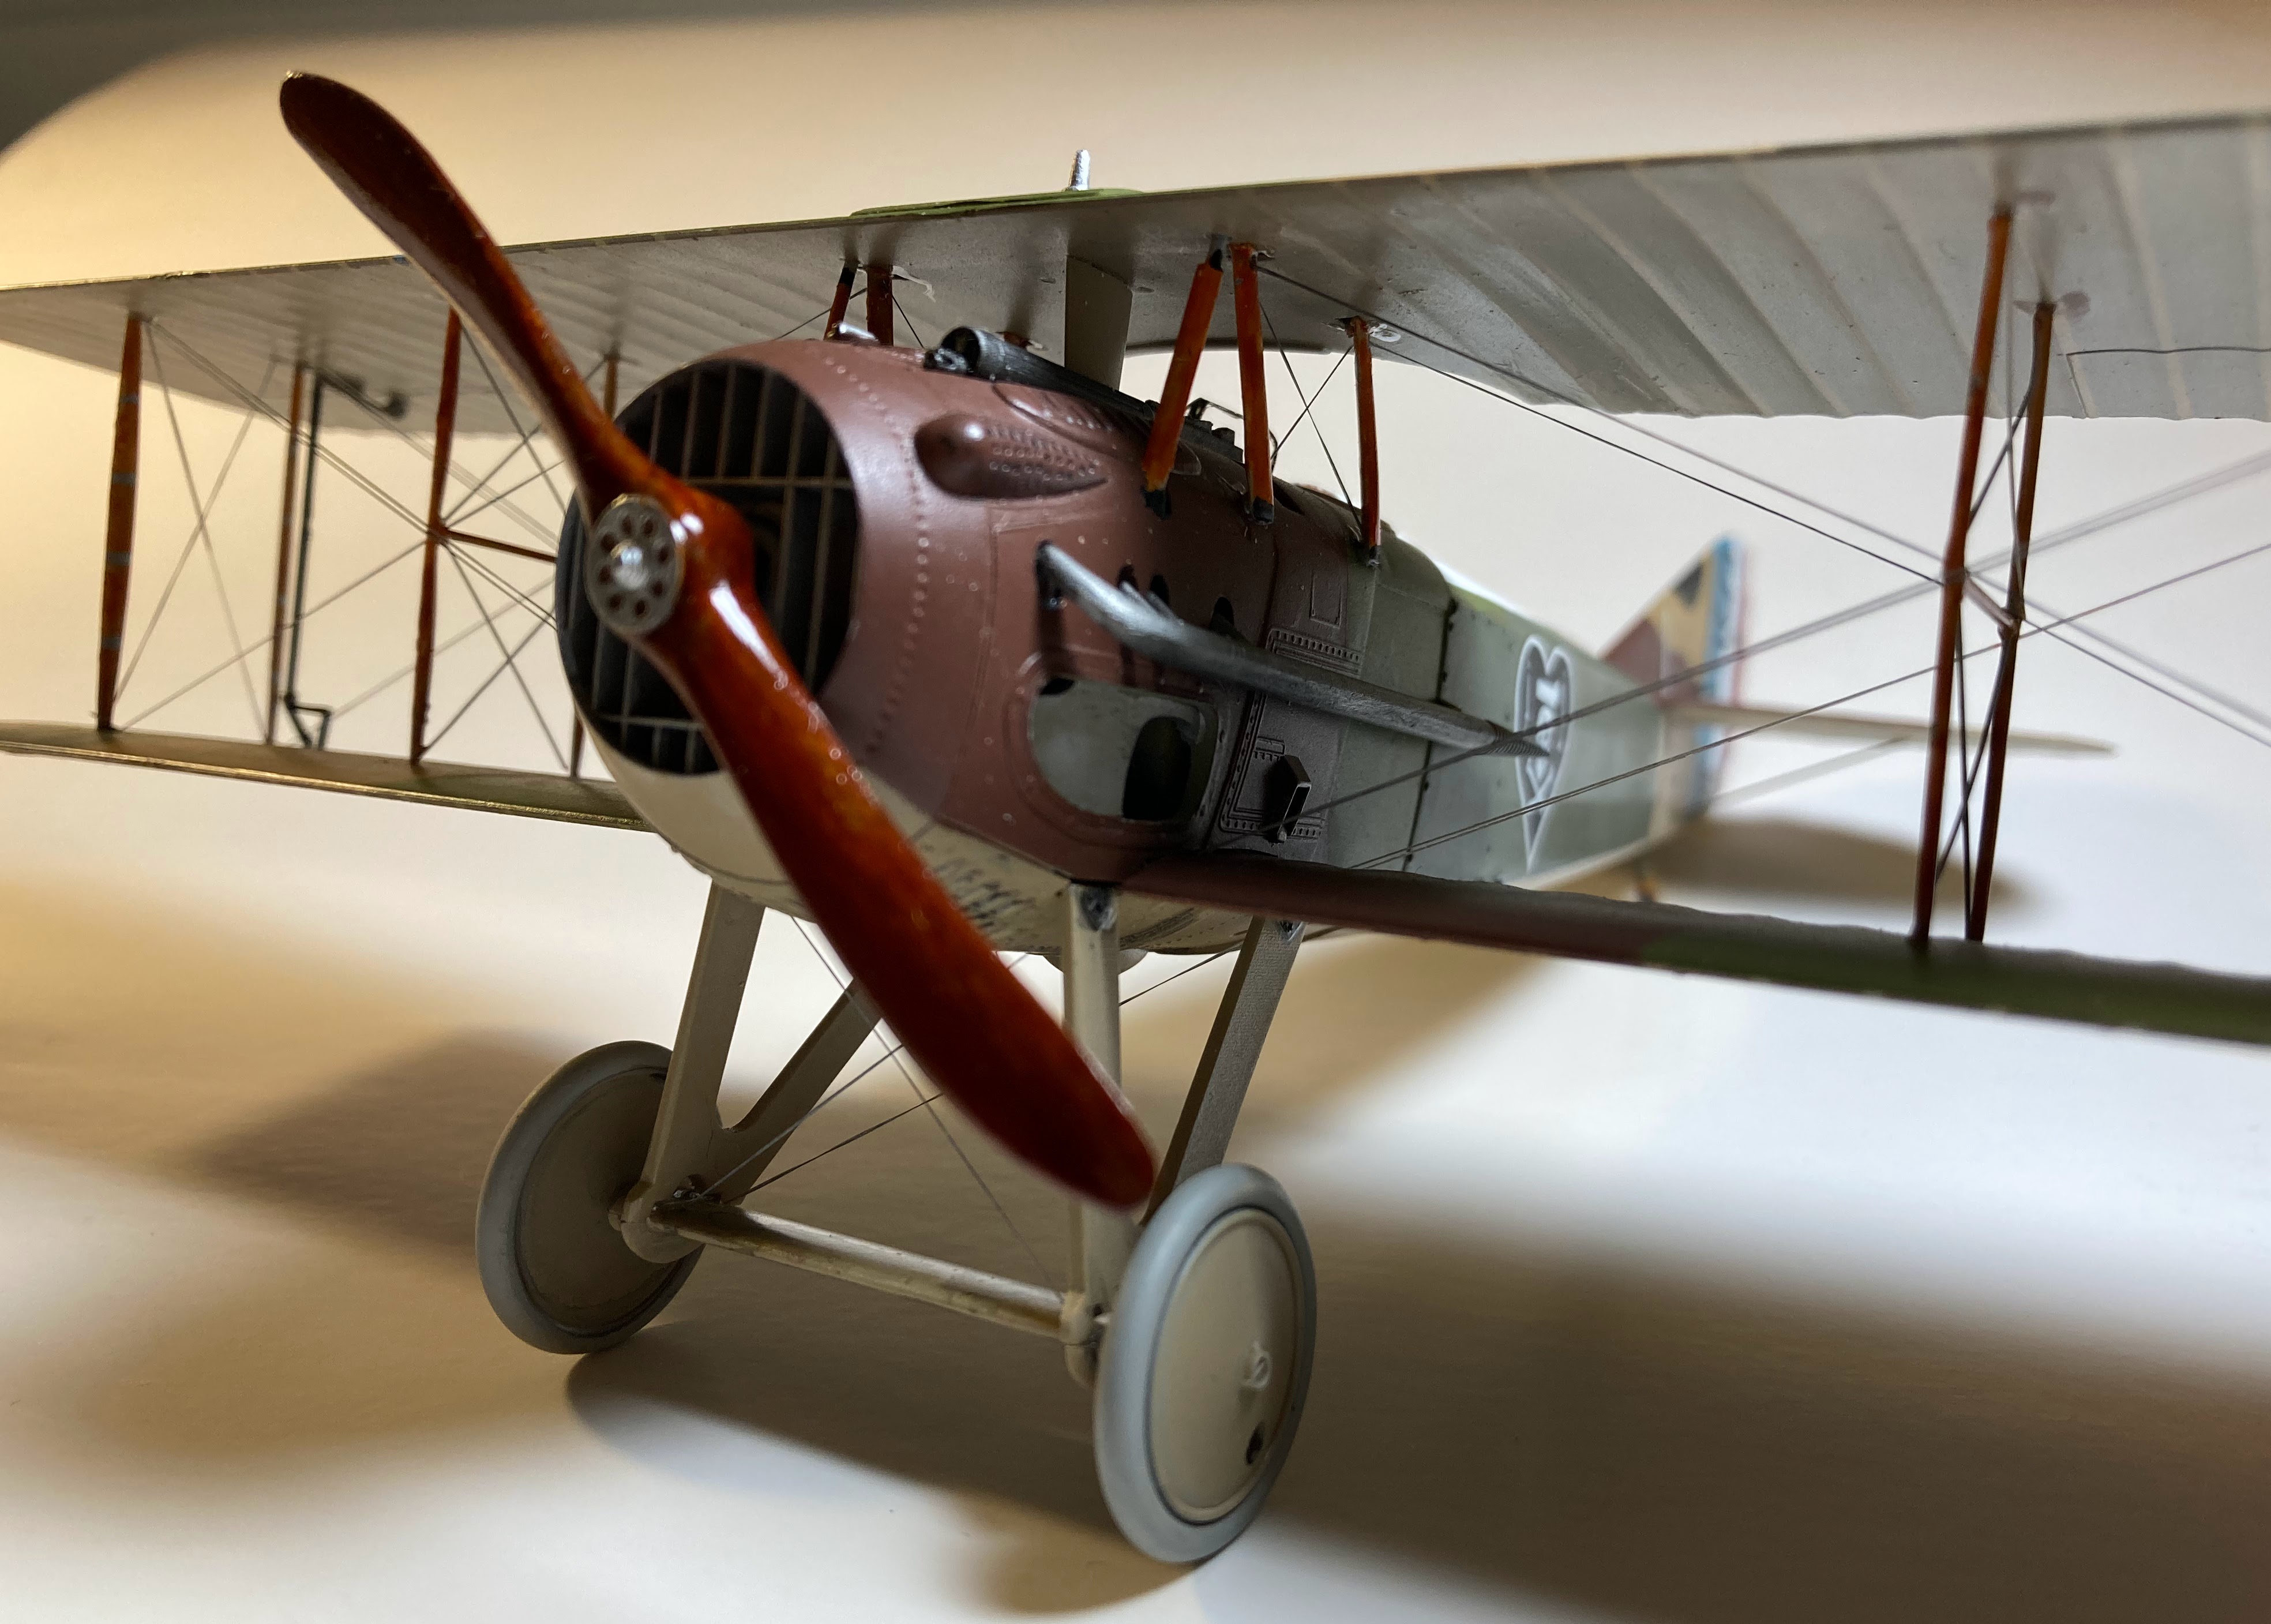
Here are some pictures of the completed SPAD XIII:


.png)

.png)