
 |
| Airfix's 1/48 scale Bristol Blenheim Mk. I |


The kit I'm working with is the relatively recent Airfix 1/48 scale Blenheim I. After opening the box I was somewhat intimidated! There are over 100 steps in construction with over 200 pieces in the kit! Yikes, what have I got myself into?!
I've got to hand to to Airfix, this kit was a real pleasure to work on! The instructions are quite well written and illustrated, the quality of plastic is good, some complain that it's too soft, but I thought it was fine. Overall, the engineering of this kit is first rate.
There are, however, one or two mistakes with the clear parts. One of the lower panes of the front green house is frosted to simulate a solid plate but should be clear. It was a simple matter to sand and polish it to clarity. The upper pilot's hatch had a cross brace that shouldn't be there. Again, sanding and polishing takes care of that, but I accidently caused a partial split in that panel as I was polishing. Finally, there are two panes of clear glass on the lower rear of the starboard canopy which, as far as I can tell, shouldn't be there! I discovered this way too late in the build and just let them go...
Due to the large greenhouse I decided to order a set of masks for painting. The vinyl masks worked okay, but I think I prefer masks from a more conventional masking tape like Tamiya.
 |
| Masking the canopy and turret. |
The massive instructions are really very nicely set out. Just follow them and you should not have any trouble. The first step was the interior. It's all very well engineered including the spars for the wing.
 |
| Some interior details. |
Painting as I went, I also added some PE harnesses.
 |
| Pilot's seat with harnesses. |
 |
| The nicely rendered instrument panel. |
 |
| Fixing a mistake! |
 |
| Interior finished, ready to close the fuselage up! |
I did jump ahead in the instructions to build the turret, just for fun. This is really an incredible piece of model engineering. Airfix supplies you with a little jig to help assemble all the fine parts and the result is very nice indeed! I added a little detail to the Lewis machine gun but everything else is Airfix! (I suspect that the Lewis guns may not have been installed in Finnish Blenheims but that's all I had so I went with it.)
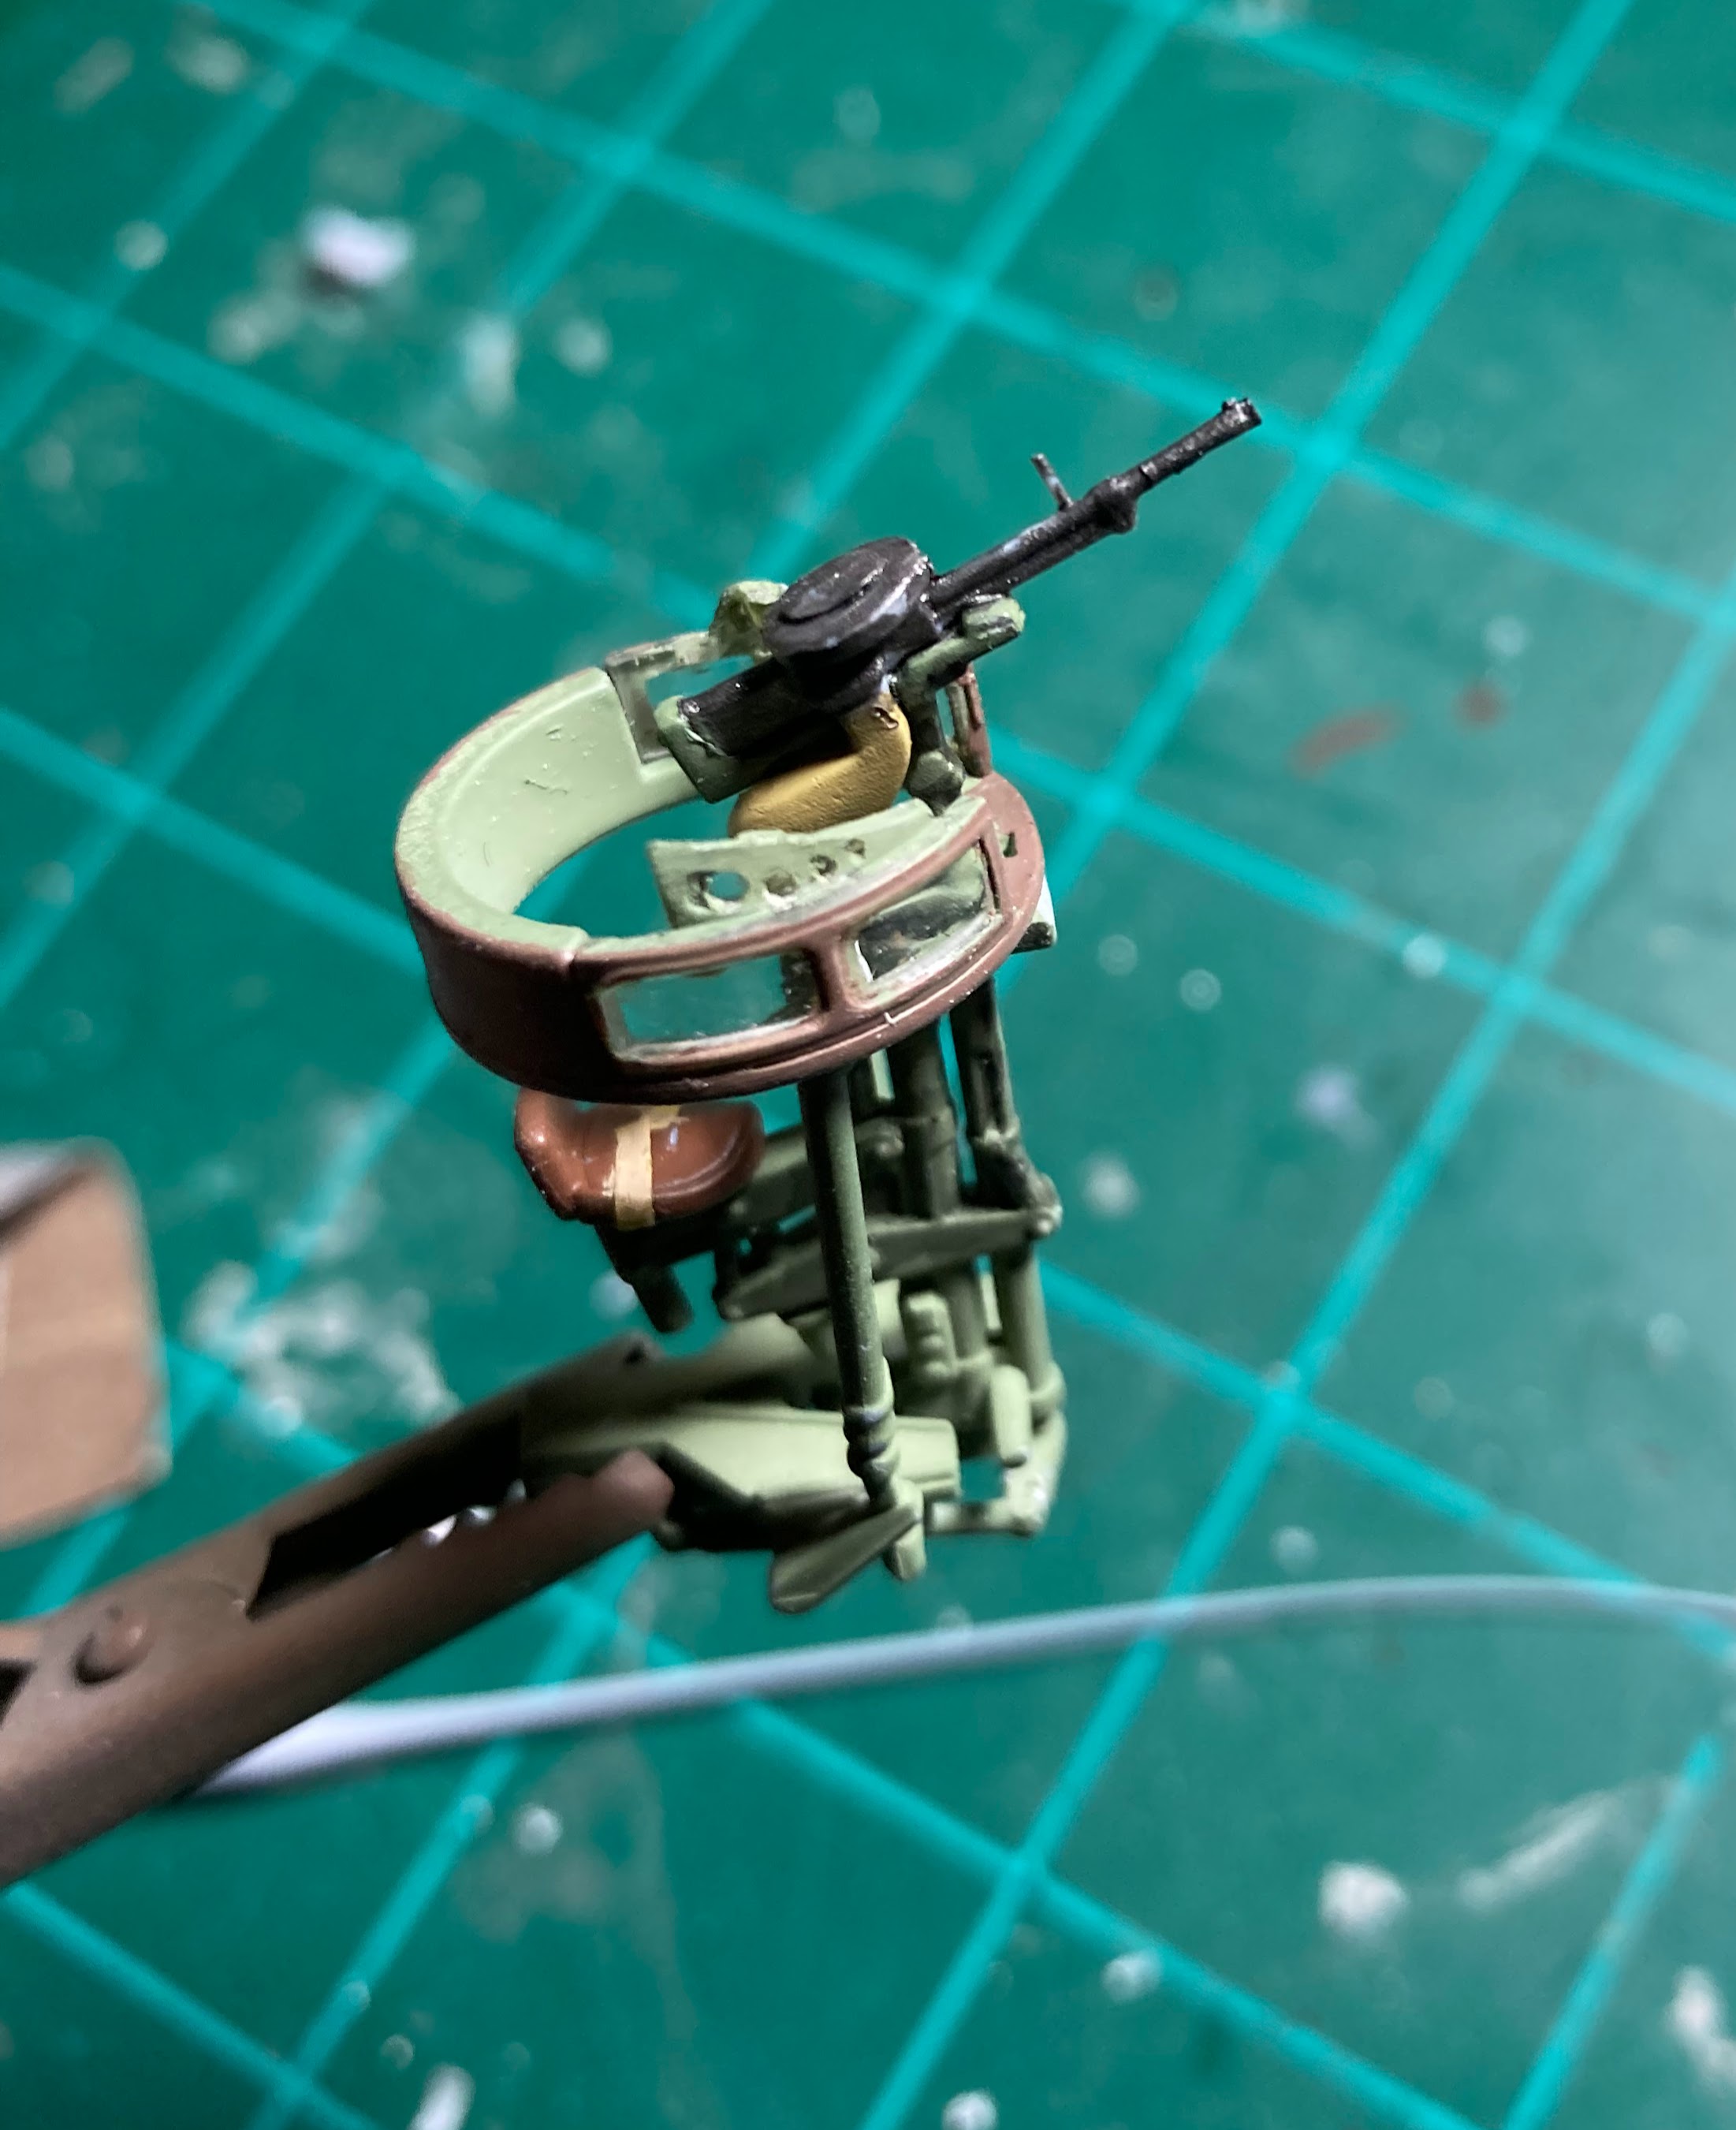 |
| The rear turret assembly is a little kit in itself. |
The next assembly step was for the landing gear. Once again, Airfix has worked wonders with this assembly. Everything fits like a charm and the whole unit is quite rigid. So much better than the Hobbycraft DO-17 I worked on awhile back, there is no guesswork involved at all with these babies!
 |
| The landing gear assemblies. |
Next, the engine assemblies went together just as nicely as the landing gear, just follow the instructions and you can't go wrong.
 |
| Engine assemblies. |
I the assembled the wings and decided to paint them. since there was a strong contrasting line between the black wing and the yellow theater markings of the wingtip, I decided to paint a white circle where the national insignia decal was to be applied. I also painted the undersides of the horizontal stabilizers and the lower cowls and landing gear covers.
 |
| The major sub-assemblies laid out. |
I began assembling the major components. Generally, the fit was quite good but there was a small gap between the fuselage and wing that required a little putty. I used Perfect Pastic Putty which you can work with water and avoid sanding. It works great!
 |
| Filling the gap. |
As you can see in the above picture, I had already given the upper surfaces a first coat of Flat Earth (Tamiya XF-52), (the underside has already been painted Nato Black, (Tamiya XF-69). I noticed the gap after the first coat so a second one was necessary after filling.
I then blocked out the camo pattern using Silly Putty, tape and cellophane. Then came a coat of RAF Dark Green, (Tamiya XF-81), the results were pretty nice, although I did have to go back and touch up a few things later.
 |
| Applying the camouflage. |
Decals were next, after applying a coat of Future over the paint. I used two sets of SBS decals for this model. The wing insignias on the SBS sheet for the Mark I are actually too large so I used the ones form their Mark IV sheet. I used a combination of numbers from both sheets for the serial number which required a little bit of adjustment for the "2". I used the kit's decal for the walkway and a few of the stencils and they actually sat down pretty well.
 |
| Decals on! |
Now it was time for the final assembly and the thousand of little details that entails! Adding the little light covers on the wingtips and adding an aerial wire, attaching the props and canopy hatch and it was done!
 |
| Just about there! |
Here are the glamor shots:

 |


To sum up, I am really impressed with Airfix's engineering on this kit. They've really hit it out of the park here. I wish they made 1/32 scale WW I aircraft they would be wonderful! If you've been thinking about trying this kit, I heartily recommend it!