Thursday, December 15, 2022

Roden's Fokker DR I triplane.


Roden Fokker DR.1 in 1/32 scale.


It was time to stop messing around and build the most famous warplane of WWI. The plane I speak of, of course, is the Fokker DR.I Triplane. This was a remarkable little aircraft, and all the more remarkable in that relatively few were produced, (only around 300), and they saw service for just a short time, (maybe eight months), the little fighter became legendary. Perhaps it was because some of Germany's most famous pilots flew them. Two pilots in particular, Manfred Von Richthofen, (MVR), Germany's highest scoring ace, and Werner Voss, probably one of the most gifted pilots of all the combatants; flew and died in the triplane.

I have three !/32 scale triplanes in my stash. For my first attempt, I decided to do MVR's 477/17, using Aviattic's decal set for the overall finish. I had used Aviattic's lozenge decals on my Fokker E.V build so I looked forward to trying out an entire airframe with them. Besides that, I had Tom's modelworks Photo-etch set for the Fokker. 


The Roden kit + Aviatic decals for MVR's 477/17

My first step was to assemble the Oberursel motor and paint the lamination on the prop. The Motor was a nice little assembly, with fine detail. I took my time and it came out well. As for the prop, I tried masking with 1mm tape at the prop's center, spreading out a bit as the laminations spread out towards the ends of the propeller. This actually worked out pretty well although there was a bit of touchup needed to finish it off well.


Motor and prop.

Next came work on the interior "office". There are many finely molded pieces here, you have to be careful not to break things! I painted the interior walls gloss white to prepare them for the Aviattic decals which represent the plywood fairing. I also added some stretched sprue to the interior rails to simulate the support rigging. For the seat, I added a cushion and painted the back red, as befitted in a Richthofen machine. For the harnesses, I used Tom's buckles mated to some Tamiya tape. I liked the way that worked and will be shopping for more buckles for my future builds.


Interior assembly.

Things get a little fiddly here, you have to connect the interior rails to the fuselage halves, then add the ammo boxes and fuel tank. Dry fitting was necessary to make sure everything was lining up. In the end, it did go together with minimal fuss. 


Fuselage closed up!


Dry fitting the lower wings.

Before any more assembly, it became necessary to prepare the exterior surfaces for the Aviattic decals. This required a coat of gloss white over all the outer surfaces.  


Prepped and painted in preparation for the decals.

First, I applies the fuselage decals, as I had some experience with these with my Fokker EV build. Things went pretty well except for the issue of the "breather pipes". I had removed them as instructed by Aviattic. However, I did not realize that the decals ended up in a slightly different location! Had I realized they wouldn't line up, I would have filled the hole and painted over it. As it was, I was left with this "ghost" hole behind the decal's dot.


A bit of a problem!

Eventually I was able to find the right paint, (Tamiya RLM Grey), to hide the hole.


The rest of the fuselage's decals went on with little trouble. 

I also began painting the items which were to match the decal's red surfaces. By adding a little Flat Brown to the standard Tamiya Flat Red, I got a toned down scarlet hue that was pretty close. Not that I also chose just to paint the wheel covers since decaling those just seemed to be asking for trouble.

Decals applied, looking okay!


Assembly continues...

As I began to assemble the top wing, I realized two problems: One, the cross sections on the ailerons did not line up with those on the wing. Also, the inspection hatch on the decal didn't match the molded one on the Roden wing. I decided to strip the decal off, paint the wing and use the Roden decals for the crosses. 

After stripping off the decal, I masked of the white squares where the crosses belonged to simulate the white background originally applied to the Fokkers wings. Then I streaked some RLM Grey across the rest of the wing.


Finished painting, looking pretty good.


I then applied a diluted mixture of Flat Red and Flat Brown, allowing some of the underlying finish to show though. After applying the red, I removed the masking tape from the underside of the wing. This pulled the blue decal off! So I then had to match the blue undersuface color! Oh boy! After that was done, I applied the Roden decals for the rosses. As usual with Roden decals, this is a step that you must take with great care! Even so, I did have a few cracks appear in the crosses, but nothing that wasn't fixable!


Finally able to resume assembly!

From here, it was just a "routine" assembly. I had to take care not to break some of the more fragile little pieces. For the minimal rigging, I chose to use stretched sprue for the control lines on the rear and EZ Line for the few support cables found on the landing gear and between the cabane struts as well as the aileron control lines.


Adding riggin and wingtip skids.


Just about done!

I had one last near disaster with this kit! After assembly was done, I shot it with Tamiya's Semi Gloss Clear. I spray paint in the garage and it was a little chilly, maybe the upper 40s or low 50s. For whatever reason, the sprayed on finish turned a milky, chalky white! Egads!

In a desperate move, I tried brushing the Semi Gloss by hand. Son of a gun, it worked!

Working the problem.

Well, all's well that ends well, I guess. I really felt like I dodged a bullet there!

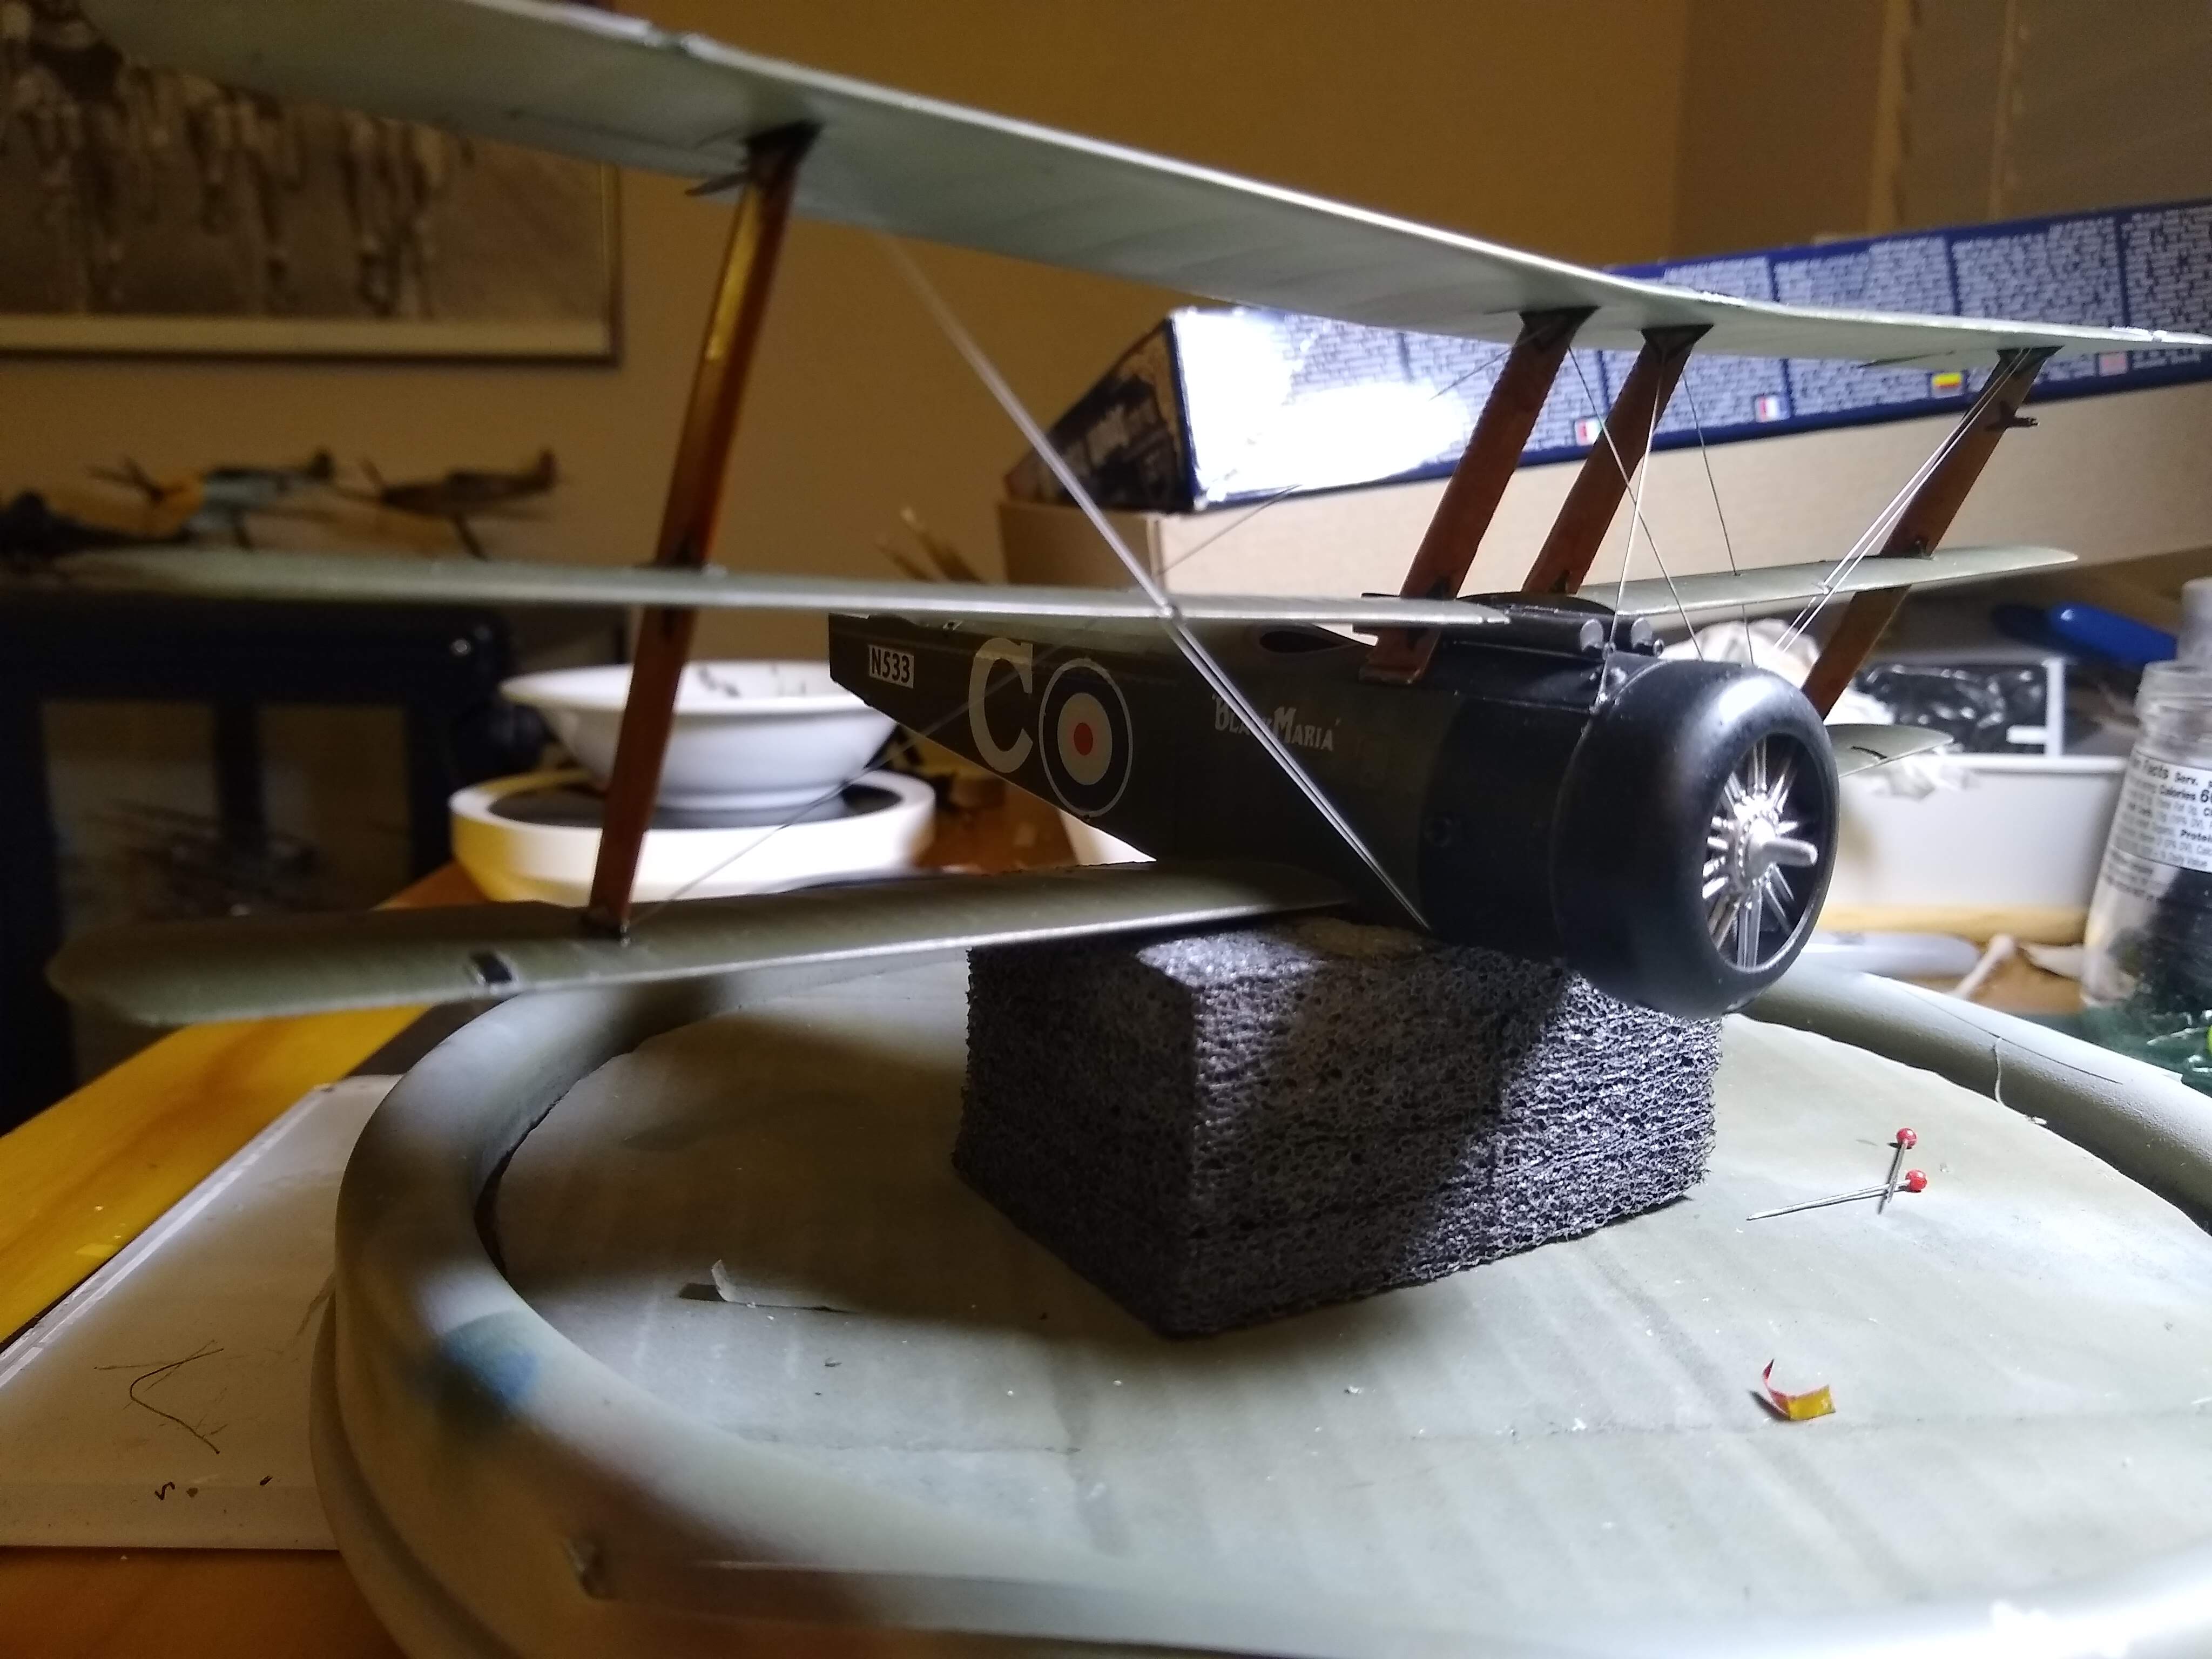
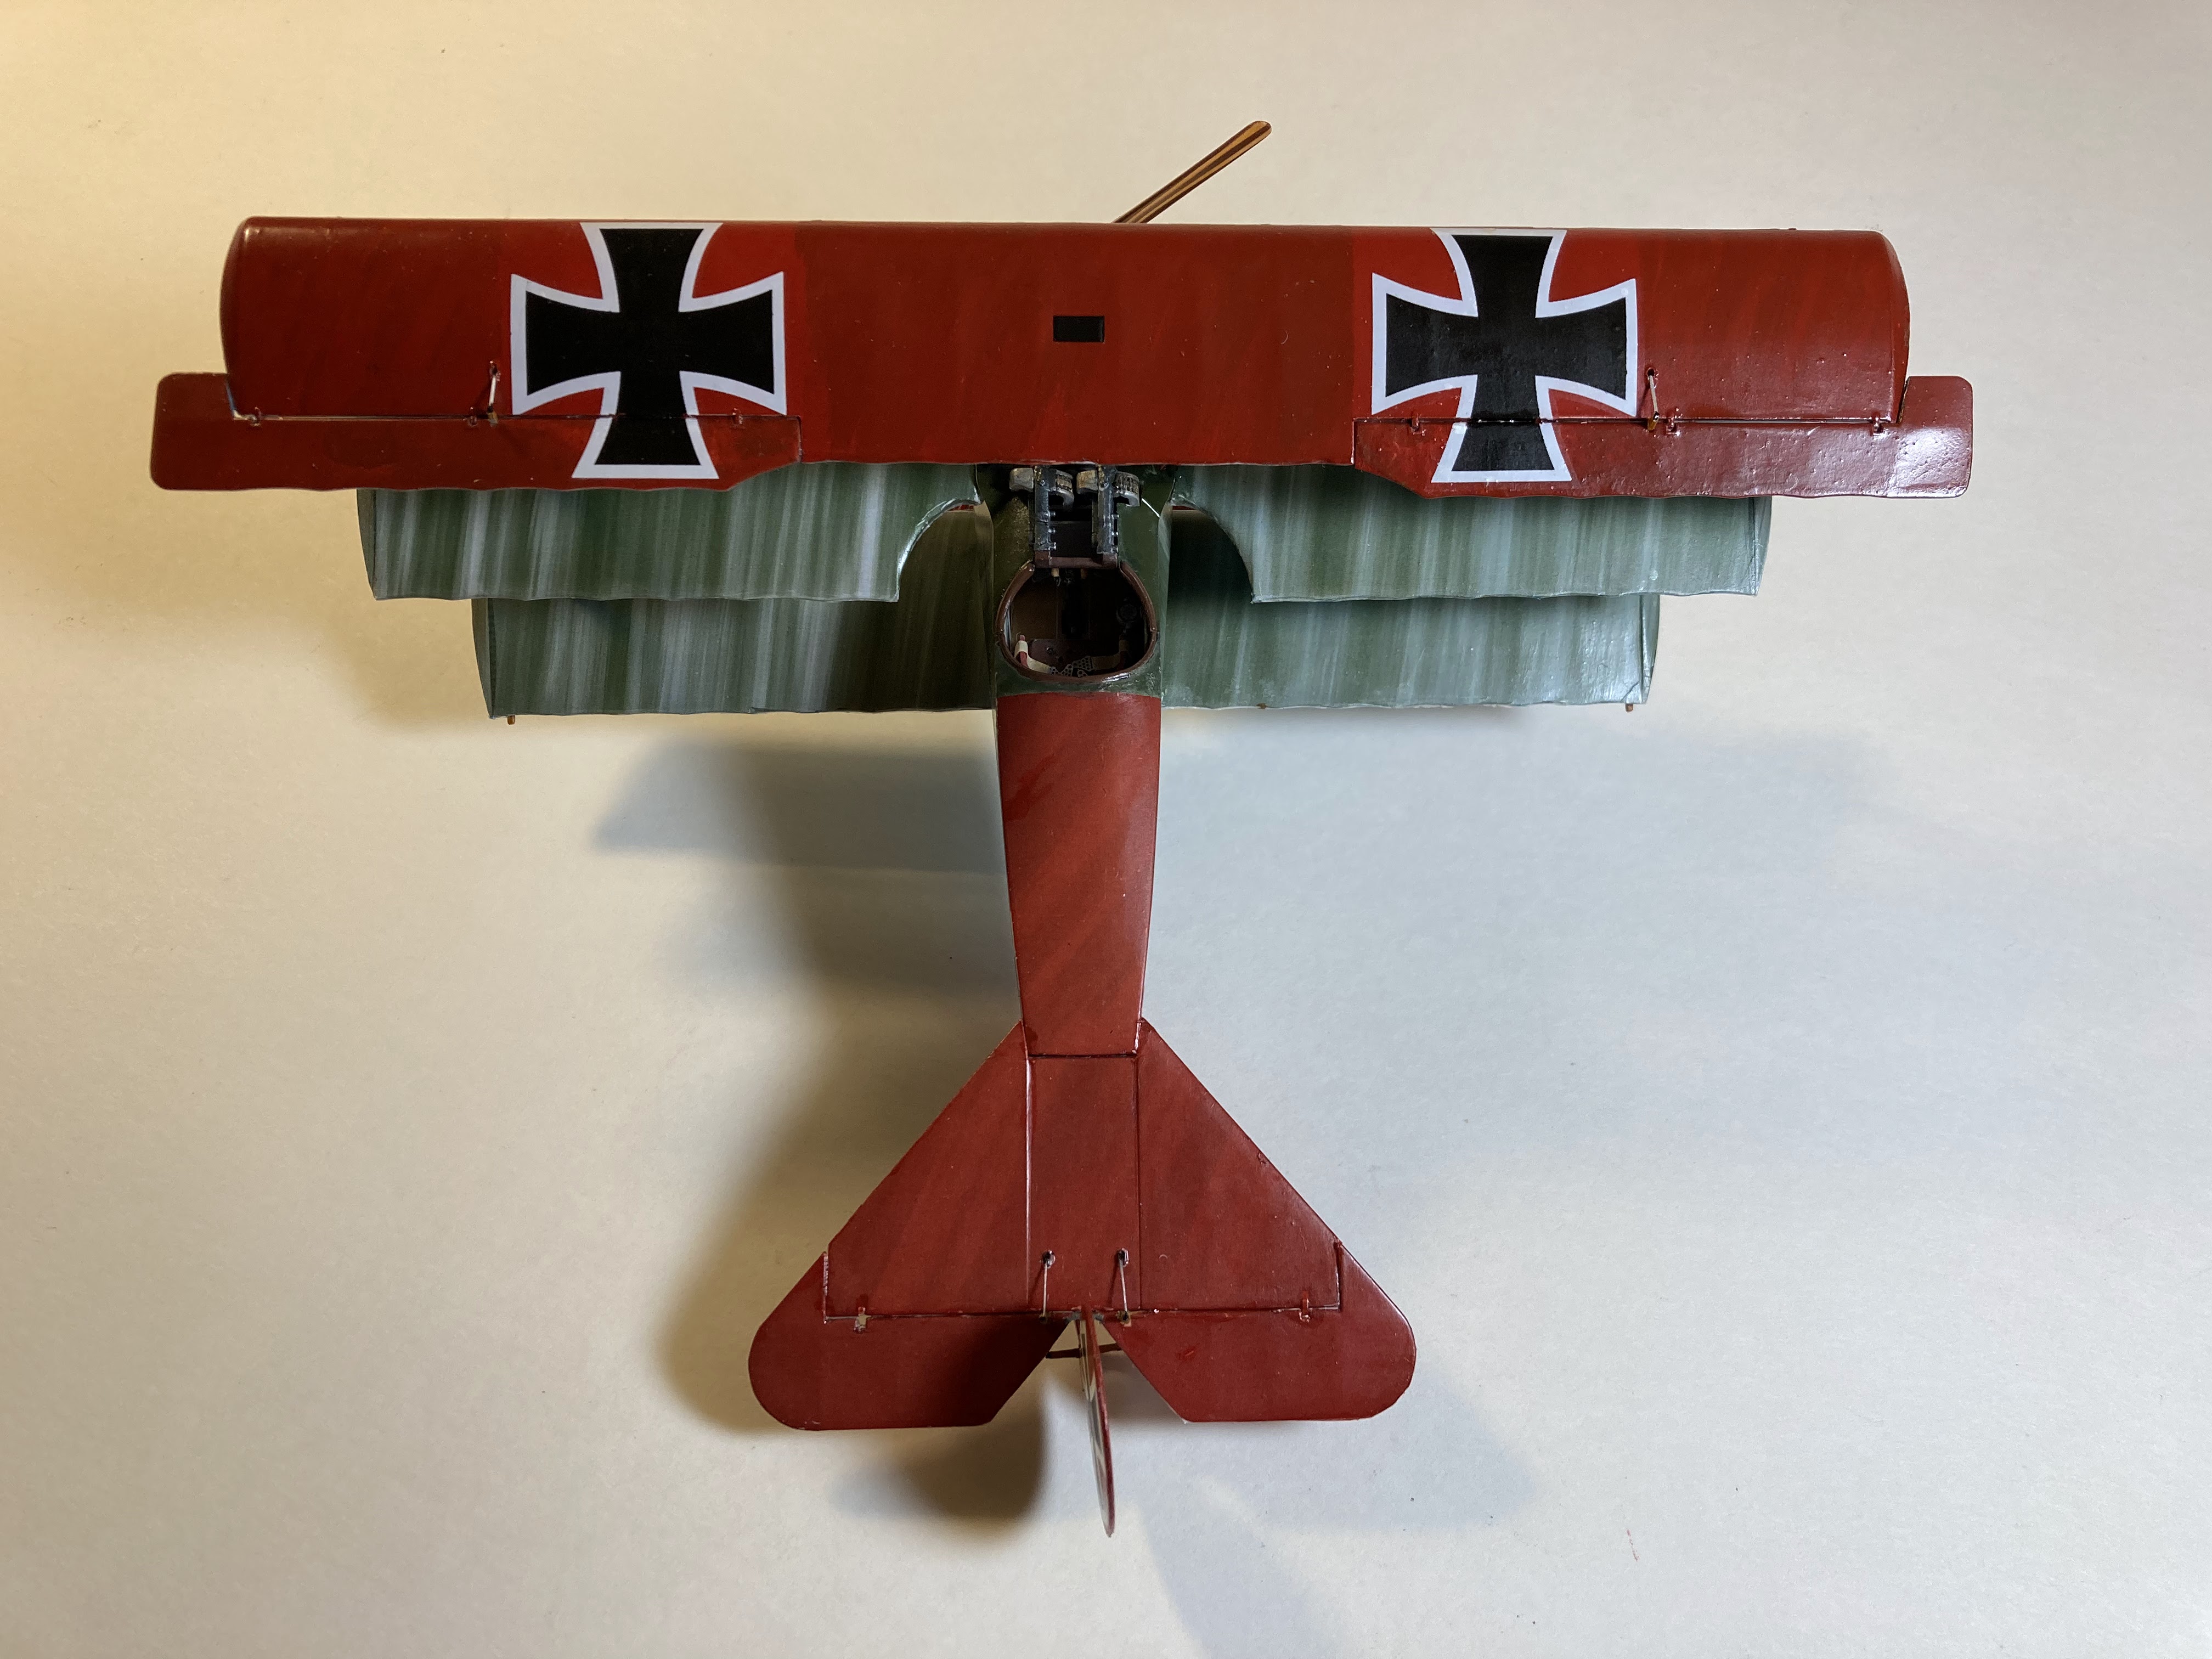
Here are the shots of the finished model.


This was a nice build, in spite of a couple of hiccups. I've got two more DR.I's in my stash, I'm looking forward to them!

Thursday, September 1, 2022

The Finnish Fiat. A 1/48 scale kit by Secter.

Secter Fiat G.50 in 1/48 scale.

Had a Group build going on at the Facebook $20 modeler's Facebook group's page, The20clubthebigshow that featured an Italian theme. What better time to add to my Finnish Air Force collection by building Oiva Tuominen's Fiat G.50!


Oiva "Oippa" Tuominen's FA-26 without spinner.


FA-26, at this time with a spinner over the prop hub.

I've had the Secter Fiat for a while. These are somewhat hard to find. Hasegawa actually re-boxed this kit  under their own label, so you may find one of those if you can't turn up the Secter kit. In other scales, Airfix made a nice 1/72 scale kit many years ago, and Special Hobby offers one in 1/32 scale which is probably very nice.

The Secter kit and some of  my references.

My impression of the Secter kit is that it's an acceptable kit, but nothing extraordinary. The instrument panel is quite nice but the rest of the interior needs a little work to make it stand out. In the photo below, you can see where I dressed up the instrument panel with a few dial decals. 


I added some PE seat harnesses and a few details to the rudder pedals and a control stick on the right side which was missing.


Interior installed, ready to close the fuselage up.

Assembly went along fine. The upper decking didn't quite match with the fuselage sides so considerable sanding was required there. The wing to fuselage fit required a small amount of filler. I cut the cockpit access doors to display them open.


Soon it was time to paint. After priming I followed my usual practice and painted the yellow recognition bands. These are always easier to do over primer than over any colors.


While that was drying, I started playing around with a few little details including adding brake lines and door handles.


Next came the fun part, applying the Italian camouflage! Sand and spinach over light gray.


I got to use my new Badger Velocity airbrush to apply the green blotches. The Velocity has an adjustable trigger stop so you can use it as a single action. This gives you a lot of control. I was pretty happy with the result. While not perfect it came out pretty well.

That satisfying moment when the masking tape comes off!

I was now time to apply decals. Secter gave you a really amazing selection of markings for this kit, over a dozen schemes to choose from! The only problem is that the decals themselves are not of the best quality. While they are printed nicely, they are quite thick and a little translucent. I tried one on my paint mule and found that they did react well to Micro Sol, so I went ahead and used them. 


Finnish Fiat in the original Italian paint weathered badly.  Large areas of paint flaked off so I tried to show that with some dry-brushed aluminum paint on several locations.

Showing some wear and tear.


Final assembly proceeded normally. The last job was to affix the antenna wire which proved to be a bit of a challenge. I used an elastic thread, Modelkasten, which worked out okay. It still gave me a few fits, but I managed to get it installed.

The antenna wires installed!


All in all, this was a pretty straightforward build. I'm happy with the result and it makes a nice addition to my Finnish AF collection.

The Fiat joins my miniature FAF!


Thursday, May 19, 2022

Roden Sopwith Triplane, 1/32.


Roden's 1/32 scale Sopwith Triplane

And here's the real thing, Colishaw's two gun Tripe, N533.


The Sopwith Triplane was a remarkable development of the more conventional Sopwith Pup. The three narrow cord wings gave the Tripehound great maneuverability and rate of climb. Used primarily by the Royal Navel Air Service, the Triplane enjoyed a brief but successful career  before being replaced by the Sopwith Camel. 

Canadian Raymond Colishaw was probably the most successful Triplane pilot. He actually flew two. My model represents his second, a rare two gun model. The weight of the two Vickers had a negative effect on the Triplane's performance although Colishaw seemed to be okay with it, he downed two EA's with it.


 I decided to try the Triplane as my second attempt at a Roden 1/32 scale kit. The Roden Triplane is a very nice kit. The fit and detail is excellent. The triplane configuration has been well designed and I had no difficulty in the assembly, for the most part.


The sprue!

As usual, I started off with the interior. I used an aftermarket pilot's seat, a resin part from Barracuda that is very nicely done. I tried out Kit's World 3-D printed seat belts this time. They are tricky to use, wanting to curl up badly. It took some effort to make them settle down. I had fun with the instrument panel, adding a few instrument decals leftover from other kits. The painting of the wood components, including the propeller and struts was done at this time as well.


Interior components and propeller and struts. Note two options for the cockpit decking, one for the single gun configuration the other for the rarer two gun option.


A peek at the Barracuda pilot's seat. Really nice looking item, with Kit's World printed belts.


Nicely done Clerget.


The main components primed.


...and painted.


Decals on! If you've ever built a Roden kit, you know this is a big deal!


Assembly started and the maddening rigging is begun!


Landing gear on! These seemed a little sturdier than the Albatros' landing gear, but I still got a little lean to port.


Rigging finished! Quite the chore.


A peek in the office.


Here are the glamor shots of the completed Triplane.


 To sum up; This kit went together nicely. Most of the problems I encountered were self-induced, nothing new there!  There is one minor problem which I did not address; There is a gaping void behind the pilot's seat! I should have come up with some sort of panel to fill it in but I had forgotten about it so the gap remains! It's not too noticeable for the most part.

One other major screw-up on my part was with the lovely molded-in inspection panels on the Triplane's wings. I thought I'd use a super glue to simulate glass over the sculpted pulleys but unfortunately the glue I used only resulted in an opaque mess that I had to cover with black paint! Too bad, because Roden had done a good job there.