Monogram's 1/32 scale Grumman F3F.
 |
| Monogram's 1/32 scale Grumman F3F-3 |
Several years ago I visited a local, (now long gone), hobby shop and spied this kit, the Monogram 1/32 scale F3F-3! As a kid I had built the Grumman Gulfhawk version of this model and always wanted to do the Navy version, so I uncharacteristically purchased it on the spot! The unbuilt model sat in my stash for several years until now. I suddenly had an urge to build it!
This kit's molds are over 50 years old and I've found some of re-popped Monogram kits (their P-40B for instance), have suffered from heavy use. This kit, however, seems to have weathered the years pretty well. It's molds probably have not had the heavy use as the very popular 1/48 scale kits.
Still, this kit does lack a lot of detail compared to recent models. The big Wright Cyclone engine is a prominent feature on the aircraft and definitely needs some attention. I drilled out some of the leads for the ignition wires and various tubing and added a couple of lumps on the crankcase cover.
 |
Working on the Wright Cycone.
|
 |
| Not a great picture, but you can see some of the added detail on the Cyclone! |
One unique feature on this kit is a retracting landing gear operated by turning the propeller! Unfortunately, this feature results in a couple of problems if you're trying to produce a more accurate static model: two large gears stick out of the fuselage, and the landing gear legs have some very non-scale hinge points! I decided to forego the retracting mechanism and starting by filling in the holes on the fuselage halves.
Some modification of the landing gear legs was necessary. At this point I was considering having the gear retract without the propeller linkage. Later on, I gave up on that idea.
 |
Landing gear linkage modified.
|
The cockpit interior had some nice detailing for a kit of this age. I added some belts for the seat. The decal for the instrument panel fell apart in water so I made a more accurate panel from sheet styrene. Seeing the decal fall apart caused a little apprehension since i had planned on using the kits decals. Fortunately the is a company, Yellow Wings Decals, which offers a nice sheet for this kit! They are a good little company and I received a nice sheet from them within days of ordering one.
 |
New instrument panel and seat details.
|
To finish off the interior I added a few strips of Evergreen plastic strips to give the cockpit a little more detail. Then I shot the interior with a coat of aluminum paint.
 |
Interior ribbing.
|
Then it was time to button it up! I had to do a little trimming to get the fuselage halves to settle together well.
Here's a peek inside the cockpit:
Next it was time to attach the lower wings. These required a fair amount of filling.
 |
Prepared for the first primer coat.
|
Now it was time for some real painting! I first sprayed the wings with Tamiya Chrome Silver. Then came a coat of Flat Aluminum on the Fuselage. The black non skid panels at the wingroot were next. Then finally I applied a home brew mix of Tamiya Blues for the tail feathers.
The top wing, with it's brilliant yellow upper surfaces was a little more work. After the primer coat I shot the undersurface with Chrome Silver, as on the lower wings, masking the leading edge off. Next, the leading edge and the upper wing surface were painted a flat white. Finally, Gloss Yellow was sprayed on these surfaces. I was pretty happy, (and relieved), with the look of the yellow wing after this. I didn't even need a second coat!
It was time for the initial decaling. Using the Yellow Wings decals, I applied the national insignia to the upper and lower wings along with the "section" chevron and aircraft number. The decals went on without any drama and worked well with Micro-sol.
 |
| Wing decals applied. |
Painting continued with the cowling. I was modeling the third aircraft in the section, so, following Navy instructions, the section color was applies to the lower half of the cowling.
I applied the decals for the fuselage, which included the squadron code, (VF-6), and squadron logo.
 |
| Preparing for assembly. |
Assembly of the major components could now begin! I started by cementing the upper wing to the cabane struts.
 |
| Upper wing installed! |
After the cabane struts had set, I installed the interplane struts at the wings' ends. At this point I began the rigging, using dyed EZ line. The rigging scheme on the F3F is pretty simple and Monogram molded in points to attach the rigging to to make it easier! I deviated a bit from the Monogram instructions since I was using super glue, which sets fast enough that you needed tape the rigging down to set.
 |
| Rigging started. |
Even with super glue and EZ Line, I find rigging a little scary1 however, in the end everything worked out okay,
 |
| Rigging installed. |
At this point I could now clean up the landing gear. I gave up any thought of having a retracting gear and cemented all the components. This would allow me to clean up the struts. In the photo above, you'll notice a large hinge plate on the upper half of the strut. This is completely bogus so I decided to remove it. Carving it up went pretty well and I was able to fashion a landing gear leg the at least approximated the real thing! (See photo below).
 |
| Landing gear cleaned up. |
Final assembly now went pretty quickly. One tough job seems simple enough but I found it took a bit of work. The Yellow Wings decals include little tricolors for the propeller tips. I found these impossible to apply! I finally gave up and painted them on, but that was a chore too because I kept removing paint with my masks! (The silver blades had received a coat of future for the decals. The paint wasn't adhering super well to that!).
A few final details included painting the navigation lights using Tamiya Clear Green and Clear Red, (a first for me), over Chrome Silver. Radio aerials were made from EZ Line.
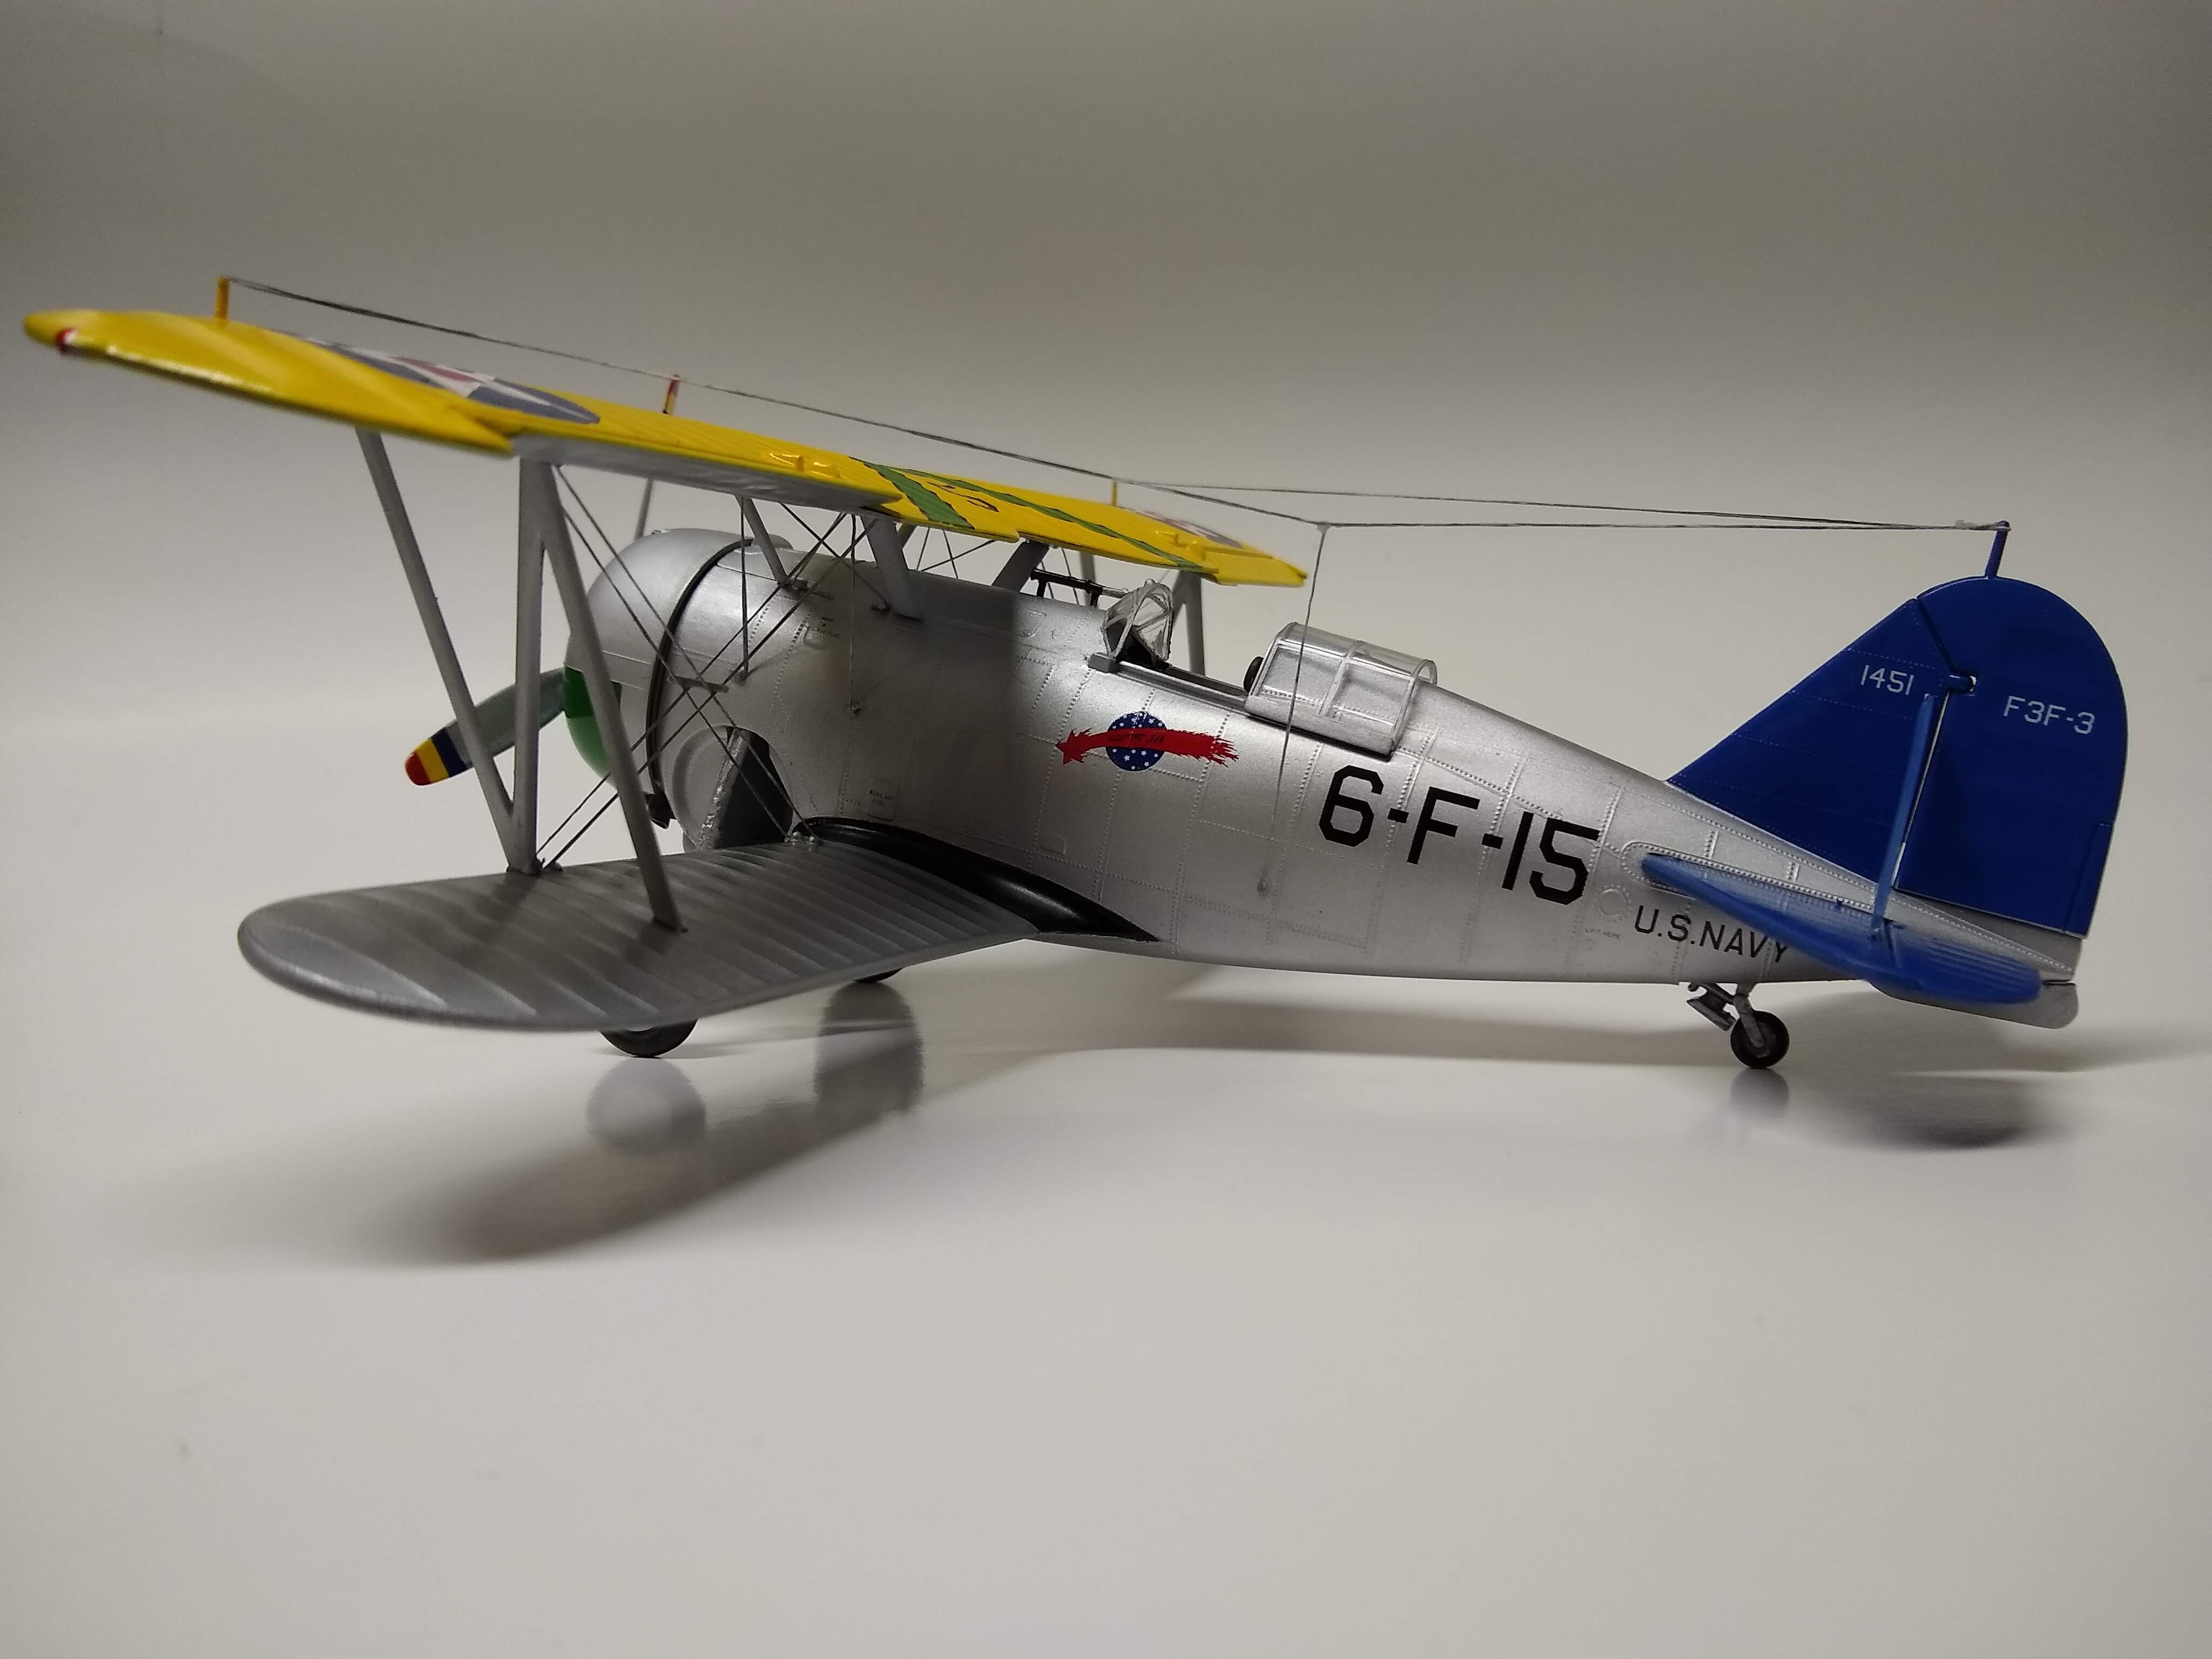
This was a fun build. Even for it's age the Monogram F3F builds into a nice, sturdy little model. While not currently available, I hope Revell of Germany will see fit to re-release it some day.
 |
| Finito! |
 |
| A peak at the cockpit. |